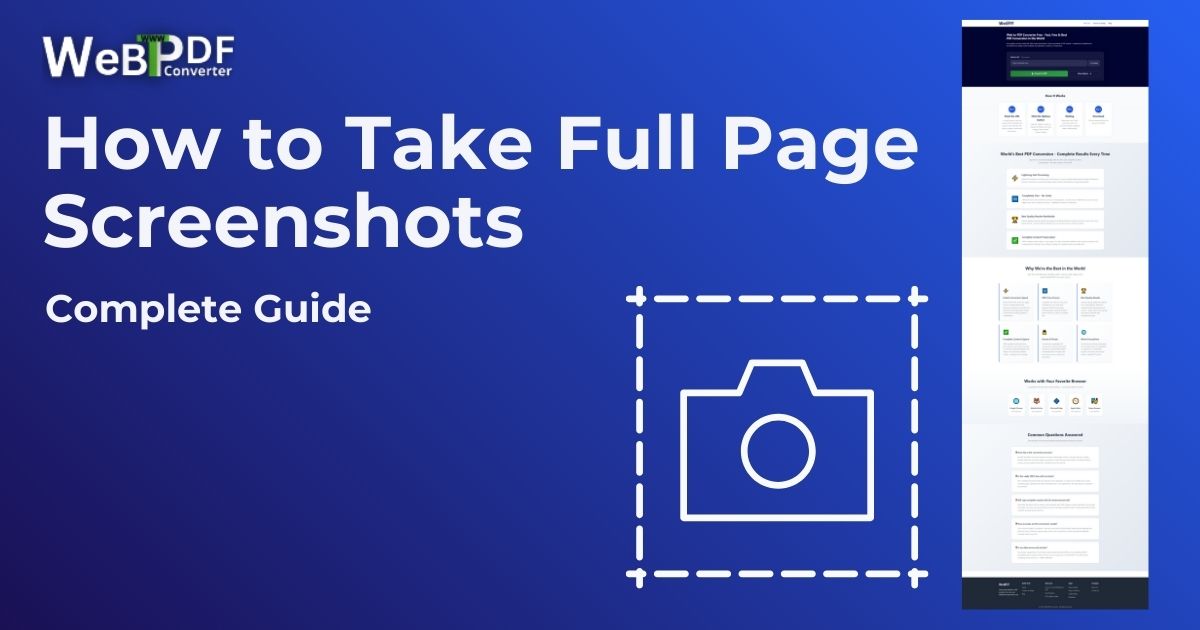
Introduction: Why Full Page Screenshots Matter
Learning how to take a full page screenshot is incredibly useful if you work with websites, design, or QA. A regular screenshot only captures what you see on the screen, which means important sections below the fold are left out. A proper full page website screenshot, on the other hand, preserves the entire page from top to bottom in a single image that you can share, annotate, or archive.
In this guide you will learn several practical ways to capture full page screenshots: using online tools, browser extensions, and built in browser features. You will see where each screenshot tool performs best, how to choose the right file type and quality, and which settings help you avoid cut off content or blurry text. If you want to try these methods as you read, you can open our free Web to PNG Converter in another tab and generate a website screenshot from any URL in just a few clicks.
What Is A Full Page Screenshot?
A full page screenshot captures the entire webpage, including content that requires scrolling. Unlike a standard screenshot, which only includes what is currently visible on your monitor, a full page website screenshot joins all sections into one tall image. This is especially helpful for documenting long sales pages, blog posts, dashboards, or complex layouts where context matters.
When you use the right screenshot tool, you do not have to manually stitch images together. The tool scrolls the page for you, captures every section, and outputs a single, clean file that you can reuse in reports, presentations, or design reviews.
Main Methods To Take A Full Page Website Screenshot
There are three main approaches to capturing a full page screenshot. Each has its own advantages, so it helps to choose the one that fits your workflow and device.
1. Online full page screenshot tools
Online tools are often the easiest way to grab a complete website screenshot without installing software. Our own Web to PNG Converter is built for this use case and supports full page captures with quality and format options.
- No installation required: Works directly in your browser on any operating system.
- Device independent: You can capture a page from your laptop, tablet, or even a phone.
- Automatic full page capture: The tool scrolls and stitches the page for you.
- Free to use: No signup and no watermarks on your website screenshots.
For a deeper, image focused walkthrough that covers advanced options such as quality levels and formats, see HTML to PNG Converter: Complete Guide.
2. Browser extensions
Browser extensions are a great choice if you take full page screenshots frequently and prefer one click access inside your browser.
- Full Page Screen Capture (Chrome): Simple extension that scrolls and saves a full page screenshot as an image.
- FireShot (multiple browsers): Feature rich screenshot tool with editing and export options.
- Awesome Screenshot (Chrome, Firefox): Combines screen capture, annotation, and sharing features.
Once installed, these tools usually add an icon to your toolbar. You visit a page, click the icon, choose “capture full page,” and then download or edit the result.
3. Browser developer tools
Some browsers include a built in method to take a full page screenshot via their developer tools. This approach is handy when you do not want extensions or third party websites.
- In some Chromium based browsers, you can open Developer Tools, open the command menu, and search for “Capture full size screenshot.”
- Other browsers provide a similar option in their developer toolbars or responsive design mode.
While the exact steps vary by browser, the idea is the same: the browser scrolls through the page and saves a single, tall image that contains everything.
How To Take A Full Page Screenshot With Online Tools
Let’s walk through an example using an online screenshot tool such as the Web to PNG Converter. This method works well when you need reliable, high quality full page website screenshots with flexible output settings.
Step by step process
- Open the tool: Visit the Web to PNG Converter in your browser.
- Enter the URL: Paste the address of the webpage you want to capture.
- Select file type: Choose the image format that best fits your needs:
- PNG: Best for quality and transparency, ideal for design work and documentation.
- JPEG: Smaller file sizes, good for sharing where absolute quality is less critical.
- WebP: Modern format with strong compression for web use.
- Choose quality: Set the image quality level:
- Low (30): Suitable for quick previews or text heavy pages.
- Medium (75): A balanced choice for most website screenshots.
- High (100): Best for detailed pages, design work, and presentations.
- Select page format: Pick how the screenshot tool should render the page:
- Mobile: Simulate smaller screens for mobile layout captures.
- Tablet: Useful for tablet specific designs and testing.
- Desktop: Ideal for full page website screenshots on standard monitors.
- Standard paper: Helpful if you plan to print the screenshot later.
- Optional branding: Add watermarks or headers and footers if you need to show ownership or add context like project names or dates.
- Capture: Click the capture or convert button and wait while the tool scrolls the page.
- Download: Save the finished full page screenshot to your device.
If you need to turn the same page into both an image and a PDF, you can combine this workflow with the URL to PDF Converter described in our guide How to Convert Website to PDF: Complete Guide.
How To Take A Full Page Screenshot With Browser Extensions
Extensions are ideal when you regularly capture website screenshots during development, QA, or content reviews.
Typical extension workflow
- Install a full page screenshot extension from your browser’s extension store.
- Restart or refresh your browser if needed so the screenshot tool icon appears.
- Navigate to the webpage you want to capture.
- Click the extension icon in your toolbar.
- Select the option like “Capture full page” or “Full page screenshot.”
- Wait while the extension scrolls the page and builds the image.
- Save the screenshot to your computer or open it in the built in editor.
This method keeps everything inside your browser, which is handy for quick testing and design feedback cycles.
Best Practices For High Quality Full Page Screenshots
No matter which screenshot tool you choose, a few simple habits will help you get cleaner, more reliable full page website screenshots.
Prepare the page before capturing
- Wait for the page to fully load, including images, fonts, and dynamic content.
- Close cookie notices, popups, and chat widgets that can cover important sections.
- Expand dropdowns, accordions, or tabs if you need their content visible in the screenshot.
- Set filters and date ranges correctly on dashboards before you capture.
Choose appropriate quality and format
- Use High (100) quality for detailed design work or when you plan to zoom in.
- Use Medium (75) for most website screenshots you will share or embed in documents.
- Use Low (30) only when file size matters more than visual fidelity.
- Pick PNG when you want the clearest text and support for transparency.
- Pick JPEG for smaller files when sending many screenshots at once.
- Pick WebP for modern web workflows where small, high quality files are important.
Test different pages and tools
- Try capturing a few different sites to see how each method handles complex layouts.
- Compare results from your browser extension and an online screenshot tool to find the best balance of speed and quality.
- Review your images at 100% zoom to make sure text is sharp and nothing is cut off at the top or bottom.
- Add watermarks when sharing screenshots externally so your work stays clearly attributed.
Use Cases For Full Page Screenshots
Full page screenshots support many day to day tasks for web professionals and teams.
- Visual documentation: Capture complete pages for project records, style guides, or handoffs.
- Archiving web content: Store visual versions of sites or campaigns that may change or go offline.
- Design review and feedback: Share a full page website screenshot with comments and markup.
- Presentations: Drop tall screenshots into slides to show entire flows or funnels.
- Website testing and QA: Verify layout, spacing, and content across different viewports.
Conclusion: Build A Simple Full Page Screenshot Workflow
Knowing how to take a full page screenshot turns a basic screenshot tool into a powerful part of your web workflow. Online converters, browser extensions, and built in developer tools all give you different ways to capture entire pages without manual stitching or guesswork.
Start by testing a few of the methods in this guide with your own projects. Use the Web to PNG Converter when you need flexible, high quality website screenshots from a URL, and combine it with the PDF workflows covered in our other guides when you also need printable or shareable documents. With a simple routine in place, creating clear, consistent full page website screenshots becomes quick and reliable instead of a chore.