You have eight phone photos of a lease, a dozen screenshots for a bug report, or a folder of PNG slides someone emailed as separate files. Sending them one by one is messy; a single PDF keeps the story in order and opens everywhere. This article shows how to convert images to PDF in a way that actually survives real life: which formats work, how page order is decided, when one big PDF beats many small ones, and what to check before you hit upload. You will leave with a simple workflow you can repeat for scans, screenshots, and graphics, plus fixes for the usual mistakes (wrong order, giant files, blurry pages).
We will reference a typical online image to PDF flow like our free image to PDF converter, which accepts multiple files and builds one document. For combining PDFs you already have, you will also see where merge PDF online fits.
Why combine photos into one PDF instead of a zip of JPGs?
A single PDF is one attachment, one download link, and one file name a teacher, client, or HR portal can file away. Reviewers scroll top to bottom the way you intended. Image folders get renamed, files drop out of order, and “IMG_2041.jpg” does not tell anyone what it is. Courts, schools, and insurers often ask for PDF anyway.
That does not mean PDF is always right. If someone needs the raw pixels for design work, send PNG or TIFF. For “read this in order on any device,” combine multiple photos into one PDF and you are done.
What files work when you convert images to PDF?
Most converters accept JPG, PNG, WebP, and GIF. PNG and lossless screenshots keep sharp UI text; JPG is fine for photos and smaller sizes. GIFs may animate in a browser but often land as a still frame in PDF, so export a PNG first if the frame matters.
Watch file size. Heavy phone photos can blow past email limits before they ever become a PDF. If your tool caps each image (for example around 10MB per file), compress or resize first. WebP and well-compressed JPG usually survive longer workflows without visible damage.
Convert images to PDF: a practical step-by-step
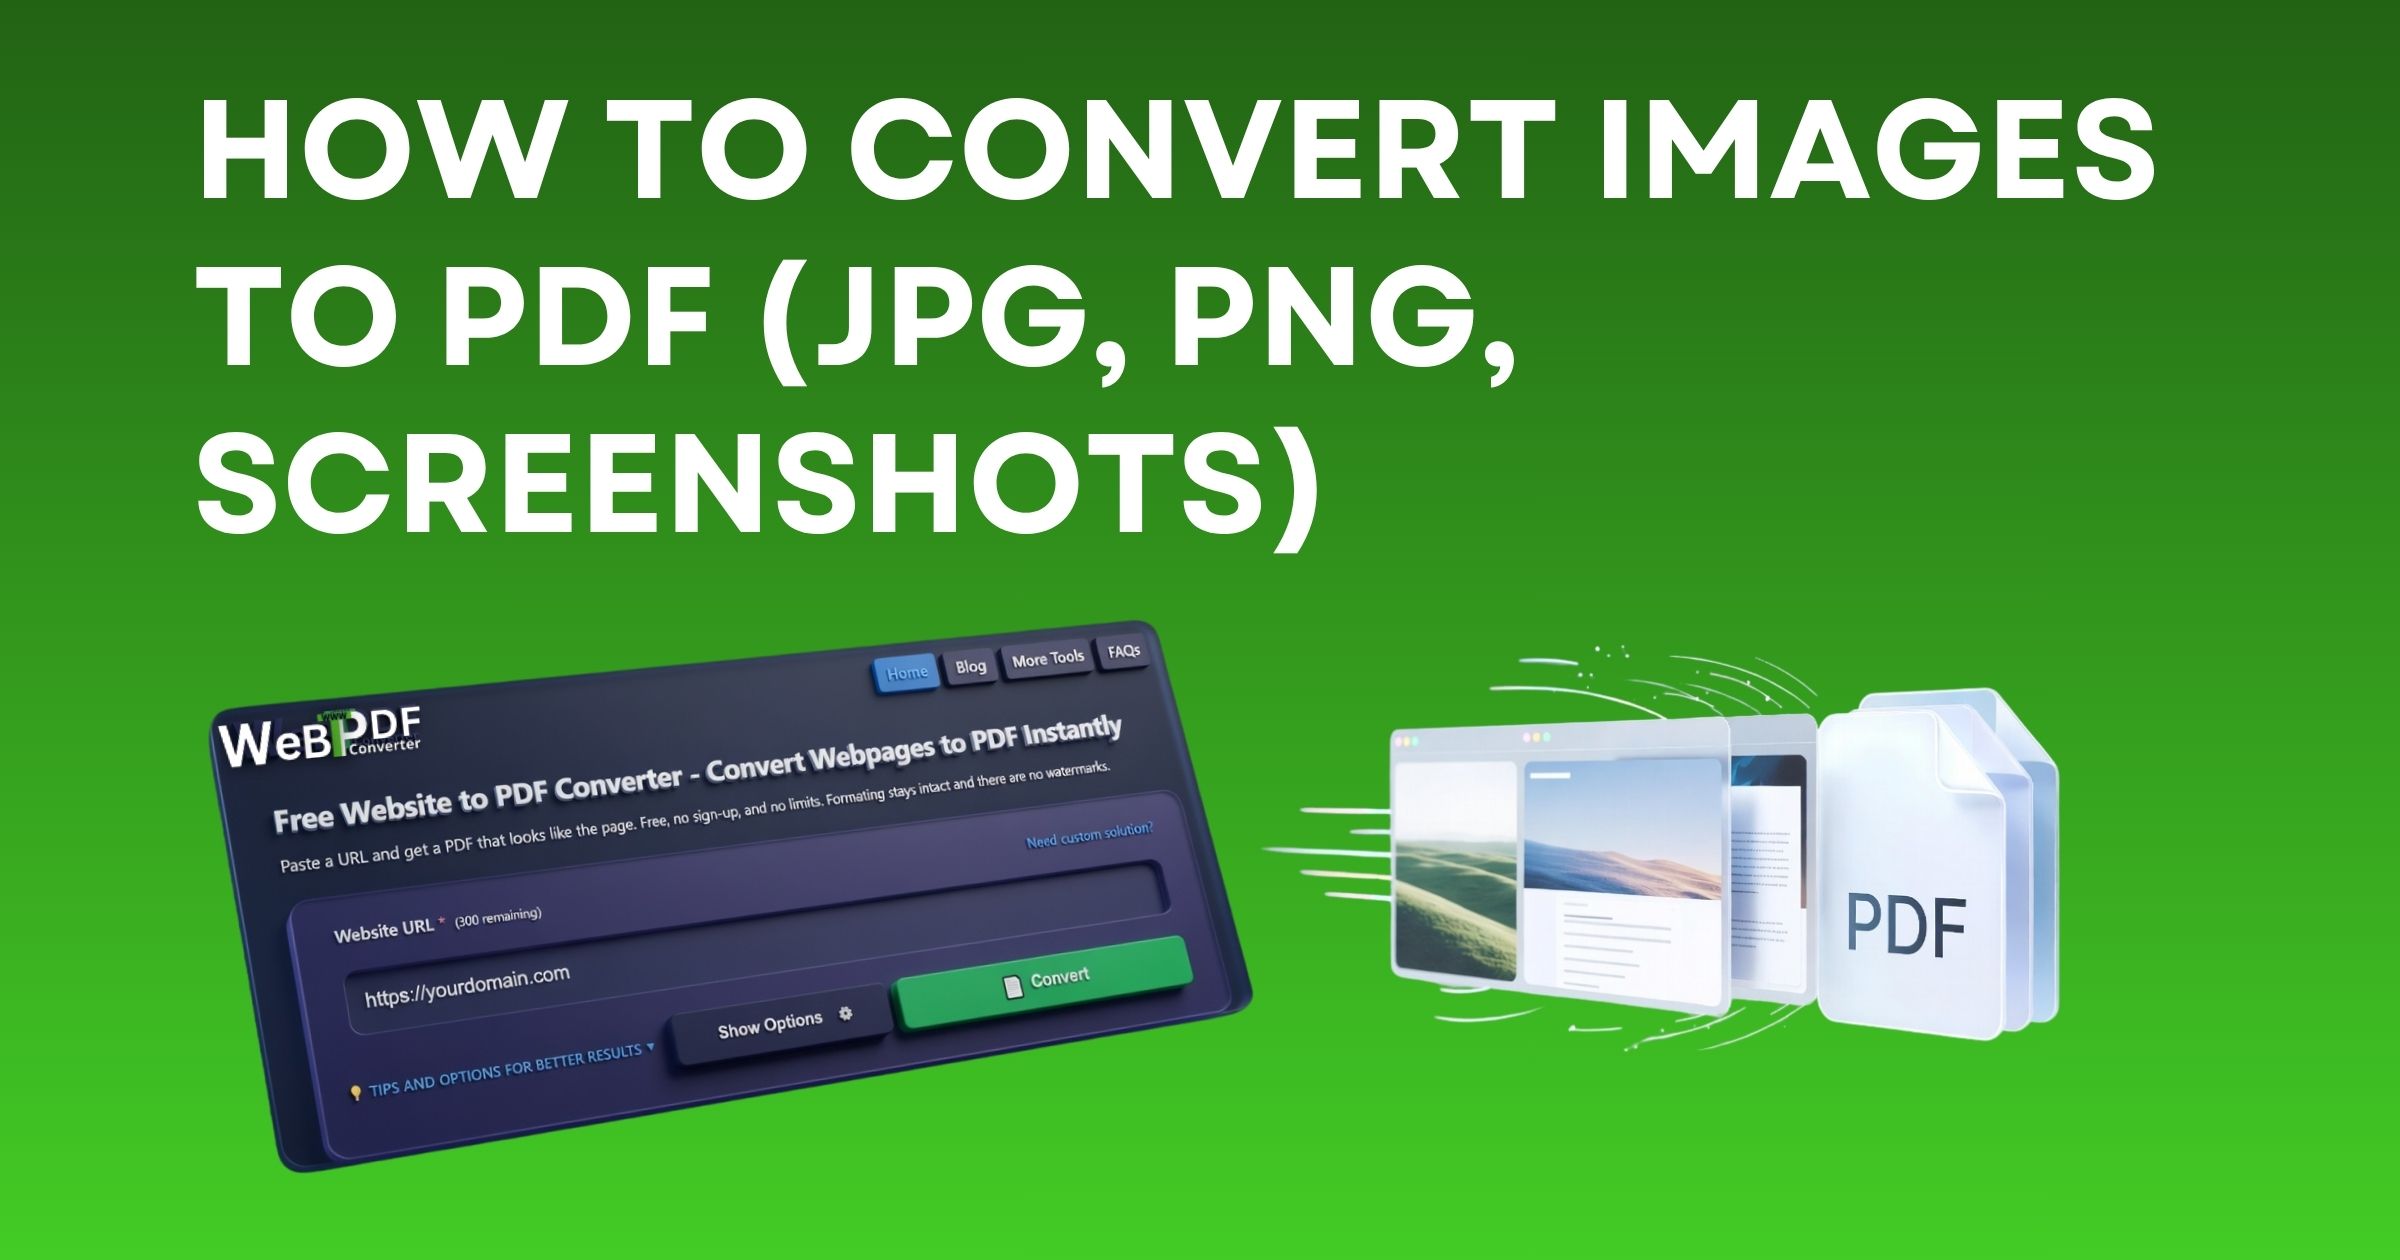
These steps match how our image to PDF tool behaves and map to most reputable online converters.
- Rename or sort in Explorer/Finder first if order is critical. Many tools add pages in the order you select files. Shift-click in sequence instead of random multi-select when the story must read chronologically.
- Open the converter. Choose upload, then pick every image you want in that order. Drag-and-drop usually follows the same sequence you drop.
- Optional URL path. If an image already lives at a public HTTPS address, some tools let you paste that link instead of uploading. Use that for one file at a time when you do not want a local copy.
- Open options if offered. Set page size (often A4 or Letter) and quality so screenshots do not float on a huge white page unless you want that look.
- Convert and download. Open the PDF once and flip from first page to last. That thirty-second habit catches missing pages and upside-down scans.
If you already produced several PDFs and only now want one binder, use merge PDF instead of re-exporting from images.
Screenshots, camera photos, and mixed sets
Screenshots
PNG screenshots preserve interface text. Crop browser chrome if it distracts. If you capture a long scrolling page as one tall image, the PDF page may shrink the whole thing to fit; that is readable but small. Sometimes two shorter captures read better than one giant strip.
Camera photos
Desk shots of paper suffer from shadow and skew. Use your phone’s document mode when available, tap to focus, and shoot in decent light. Slight rotation before upload saves crooked pages in the final PDF.
Mixed aspect ratios
Mixing portrait receipts and landscape slides in one PDF is fine; each page can follow its image’s proportions or fit a fixed paper size depending on your tool. Preview so a tiny receipt does not sit alone on a huge sheet unless that is what you want.
Semantic choices people search for (and what they mean)
- JPG to PDF: Same workflow as any raster image; quality loss is minimal if you do not re-save JPEGs ten times.
- PNG to PDF: Great for UI, signatures saved as transparent PNG, and diagrams.
- Multiple images to one PDF: Exactly the combine workflow above; order equals page order.
- Image to PDF online: Browser-based, no install; fine for occasional use if you trust the site with your content.
Quality, margins, and “why does my page look empty?”
Converters map each image to a page. If you pick a paper size much larger than the image, you may see thick white margins. That is normal. Tighter layouts sometimes appear in advanced options. For philosophy on output quality in general (including exports from web pages), PDF generation best practices still applies to how you think about clarity versus file size.
When not to use image-to-PDF
- You need selectable text from a scan. That is OCR territory, not a simple image embed.
- You need vector fidelity from a design file. PDF from SVG or native design export beats rasterizing first.
- The source is a live website and you want the whole page as PDF. Use a URL to PDF tool or print-to-PDF from the browser instead of screenshotting every fold.
Common mistakes that waste time
- Wrong order: Fix by re-selecting files in sequence or renaming with numeric prefixes (01_, 02_).
- Duplicate pages: Happens when the same shot is selected twice in a multi-picker; clear the list and start over.
- Oversized uploads: Downscale 48MP photos unless you truly need poster resolution on paper.
- Forgetting to test the PDF: One corrupt source image can create a blank page; scrolling the export catches it early.
Printing, signing, and emailing the combined PDF
Once your photos sit in a single PDF, treat it like any other document. Print double-sided from your reader if the office wants fewer sheets. For signatures, many people sign one page on paper and scan that page back in, or use an e-sign tool on the PDF itself. Email clients handle one attachment more reliably than twenty thumbnails, and cloud storage links stay cleaner when they point to one file name everyone recognizes.
Privacy and work context
Photos of IDs, prescriptions, or pay stubs belong in encrypted channels. Use HTTPS tools you trust, download the PDF to a controlled folder, and avoid public computers. If your employer offers a sanctioned converter, prefer that for sensitive material. When you use an online image to PDF service, read what it says about retention; reputable flows process the file for conversion and avoid keeping copies longer than needed.
Conclusion
Learning how to convert images to PDF is mostly about discipline: pick formats that match the content, select files in the order you want pages, respect size limits, and preview the combined file. When your inputs are JPG, PNG, screenshots, or a mix, bundling them into one PDF keeps sharing and archiving simple. Use image to PDF for the first pass from pictures, merge PDF when you already have separate PDFs, and FAQs if a specific option on your screen is unclear. Get those habits right and “combine multiple photos into one PDF” stops being a chore and becomes a two-minute task.